使用Eclipse创建Java项目
1、安装好Eclipse,并启动。
参考文章 https://codinglonglong.github.io/posts/ru-he-an-zhuang-eclipse.html
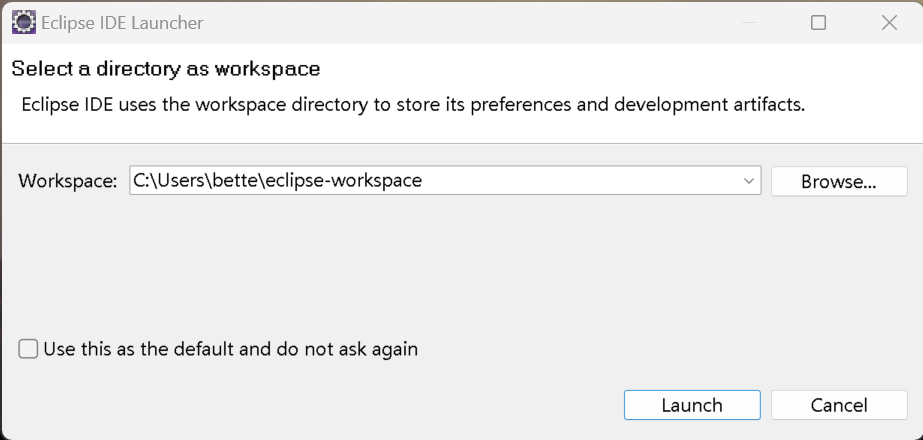
2、第一次启动会显示这个界面。注意:如果Workspace(工作空间)后面的文件路径中有汉字等非英文字符,点击Browse(浏览)按钮,选择一个全英文路径。
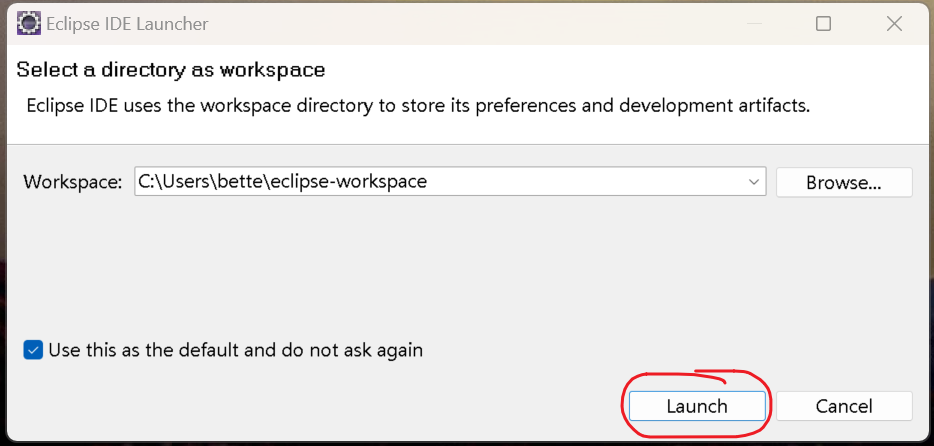
3、确保路径中没有汉字等非英文字符后,勾选 "Use this as the default and do not ask again"(使用这个路径为默认,并不再询问),点击Launch(启动)按钮。
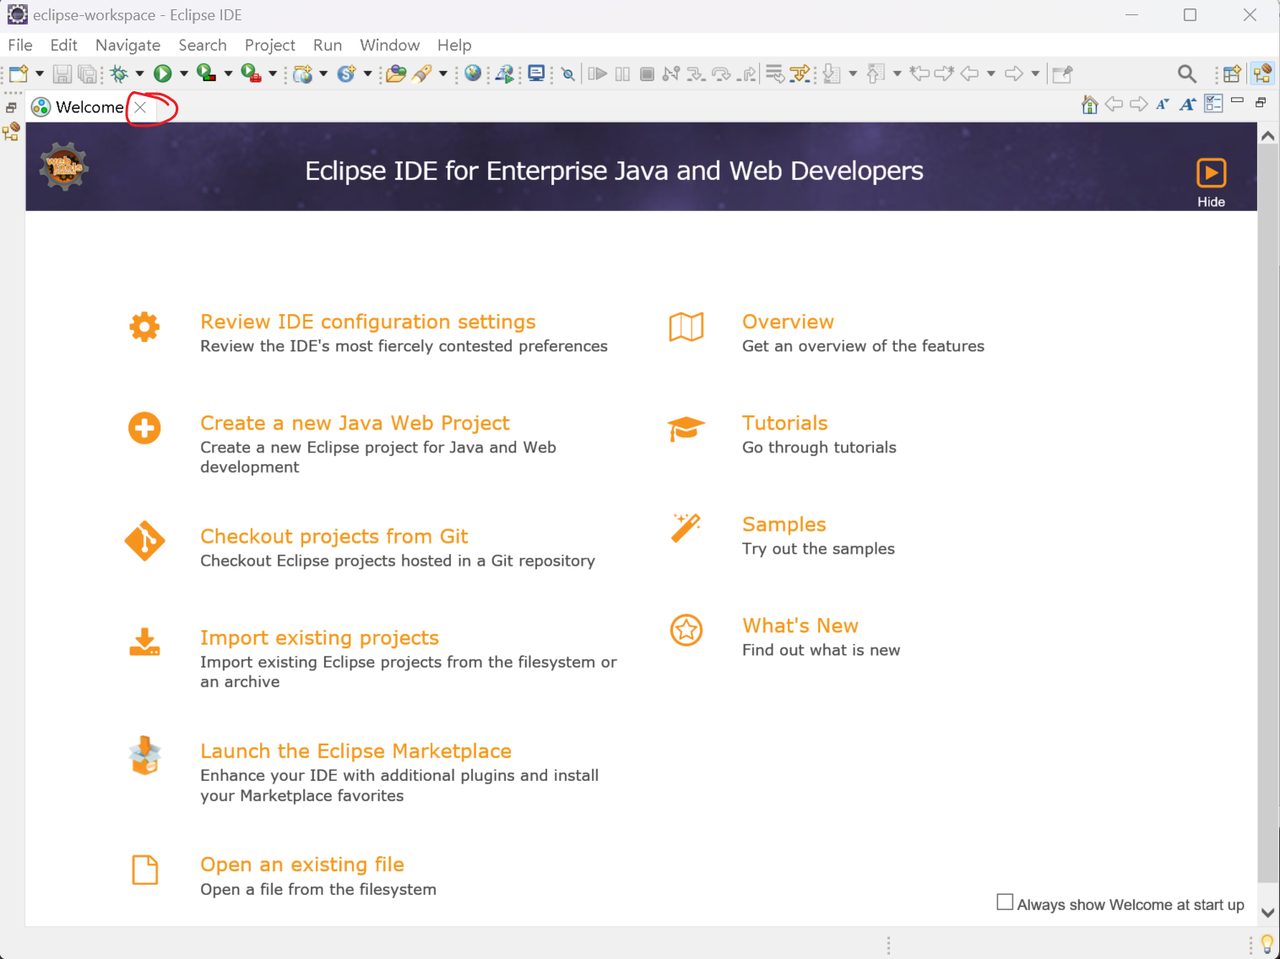
4、关闭欢迎界面。
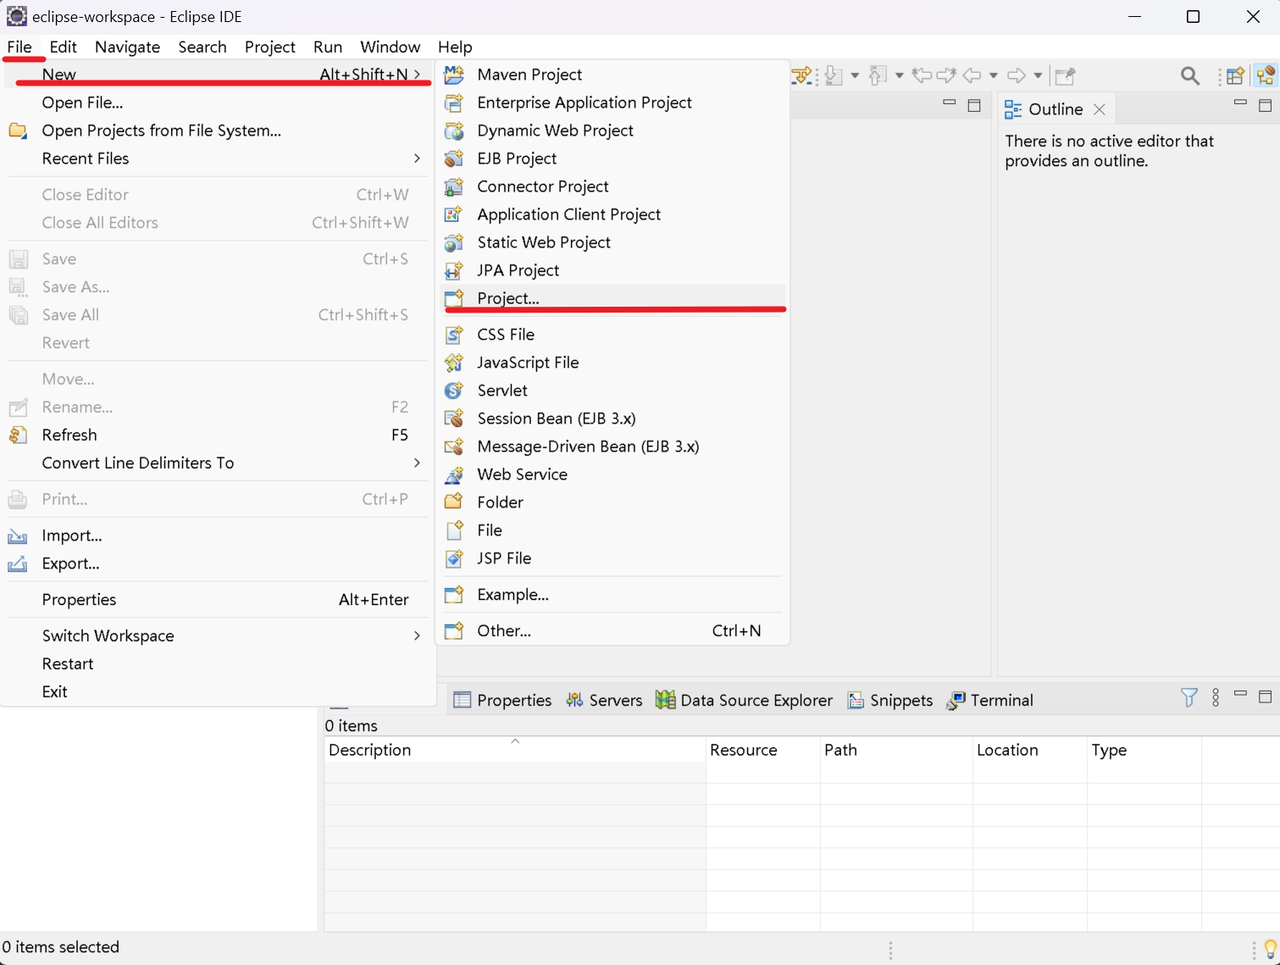
5、创建项目。
按标记顺序点击菜单,创建项目。
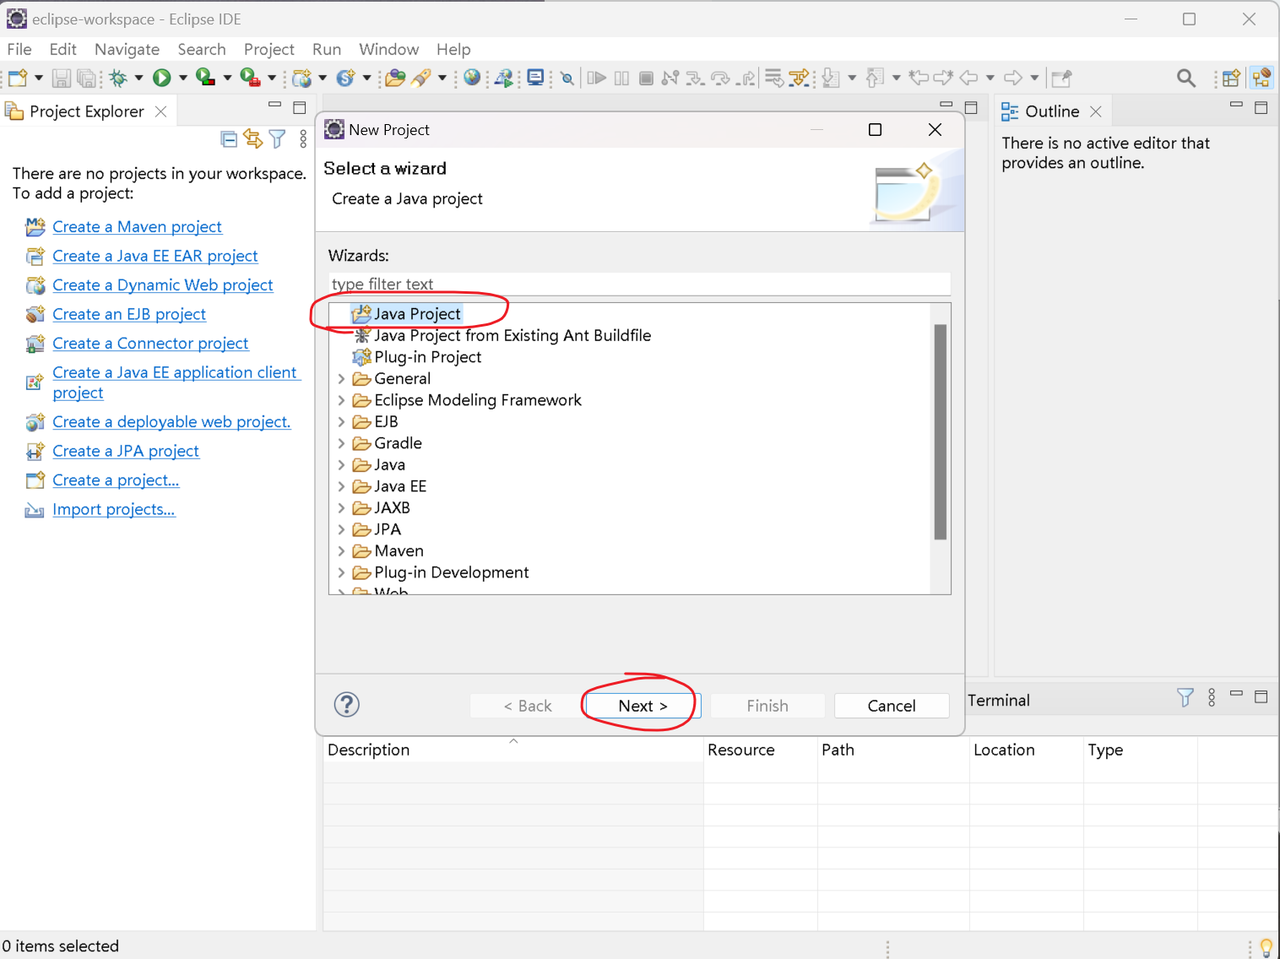
6、选择Java Project(Java项目),点击Next(下一步)按钮。
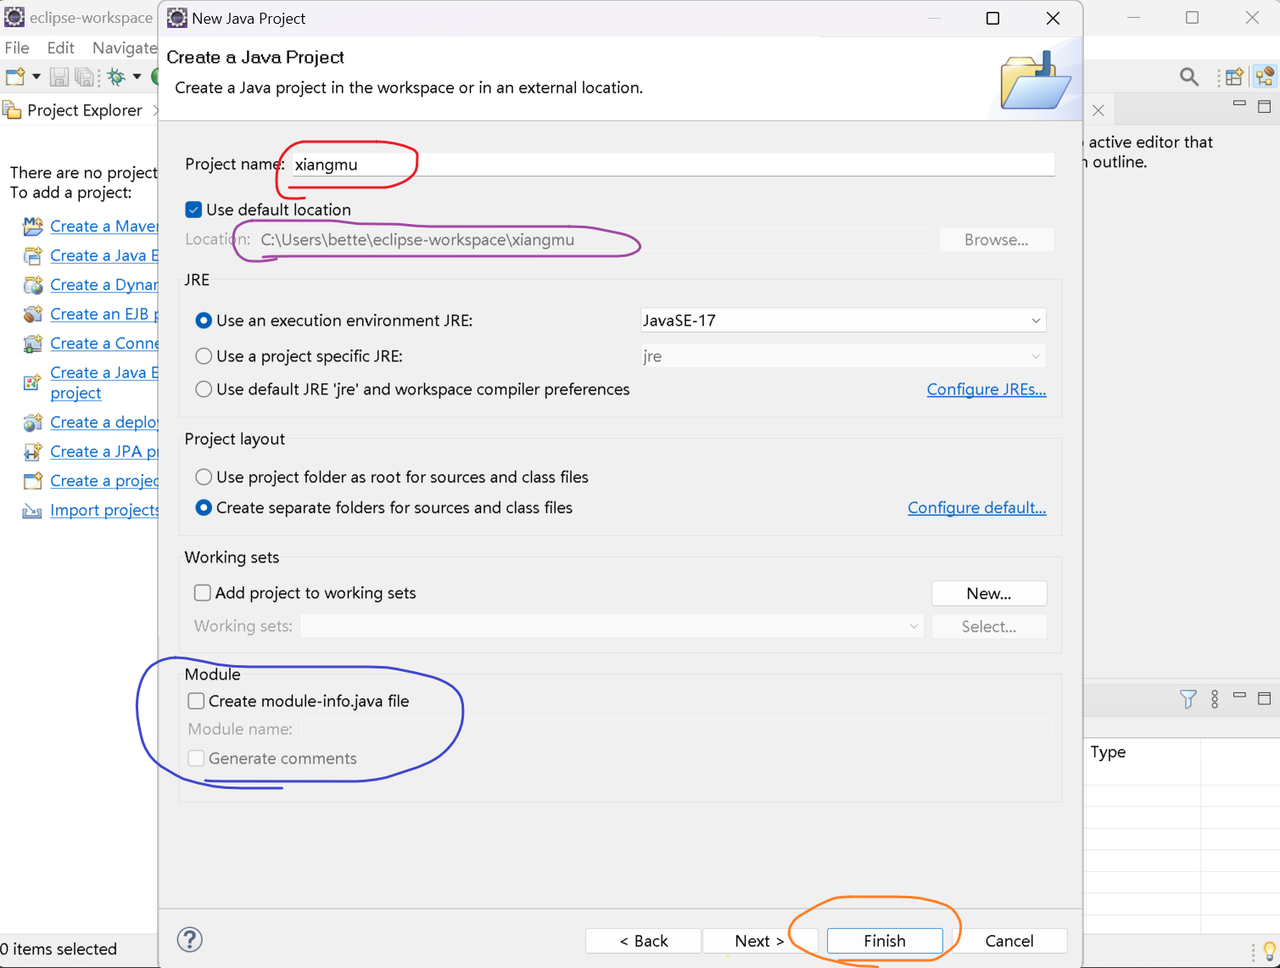
7、
红色圈部分输入项目名,随意起名字,要求全是小写字母。
紫色圈部分如果包含汉字等非英文字符,去掉Use default location(使用默认路径)前面的勾,点击Browse(浏览)按钮,选择一个全英文路径。
蓝色圈部分,去掉Create module-info.java file前面的勾。
点击Finish(完成)按钮。
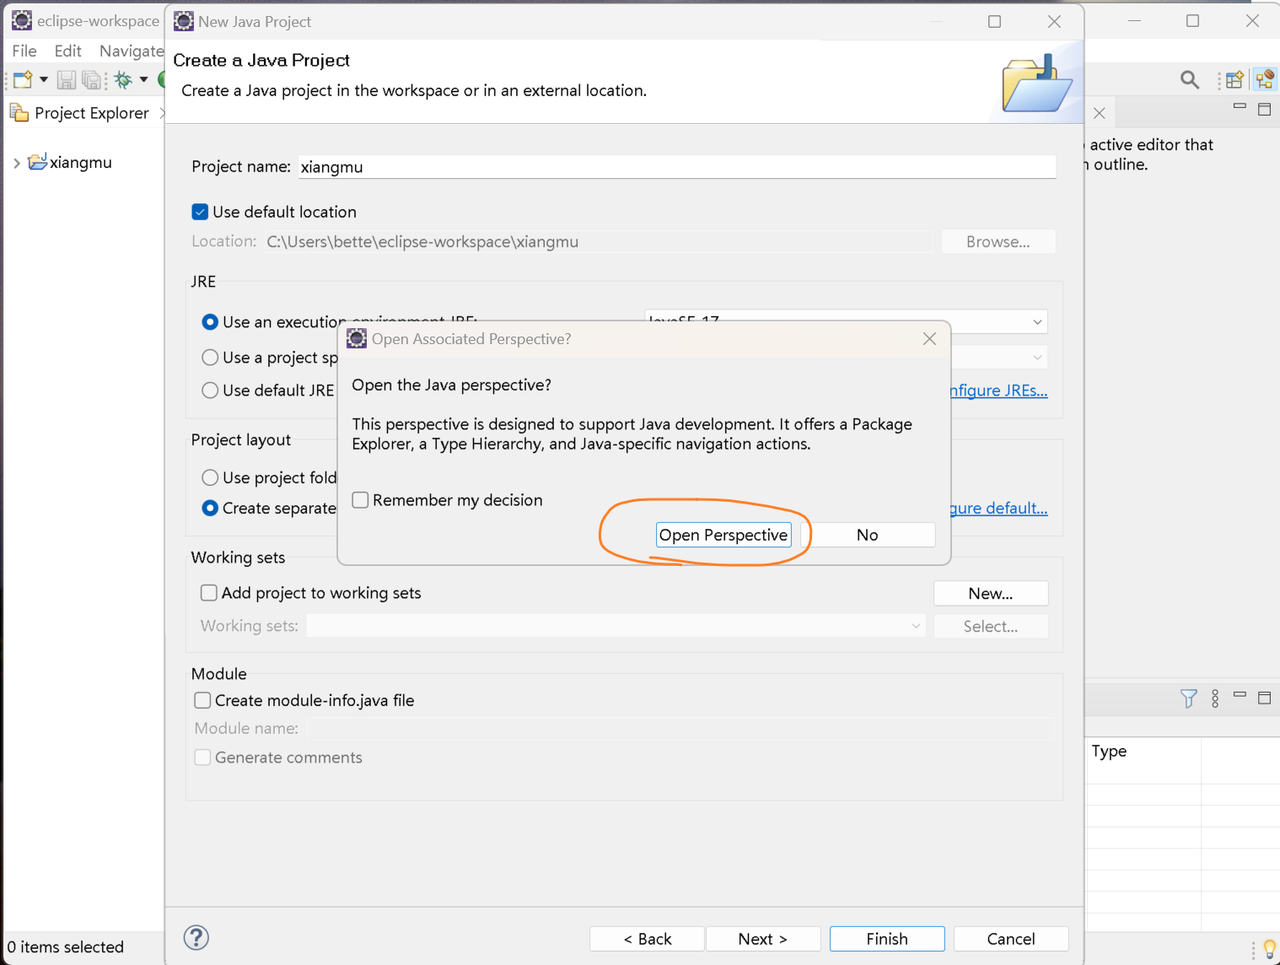
8、点击Open Perspective按钮。
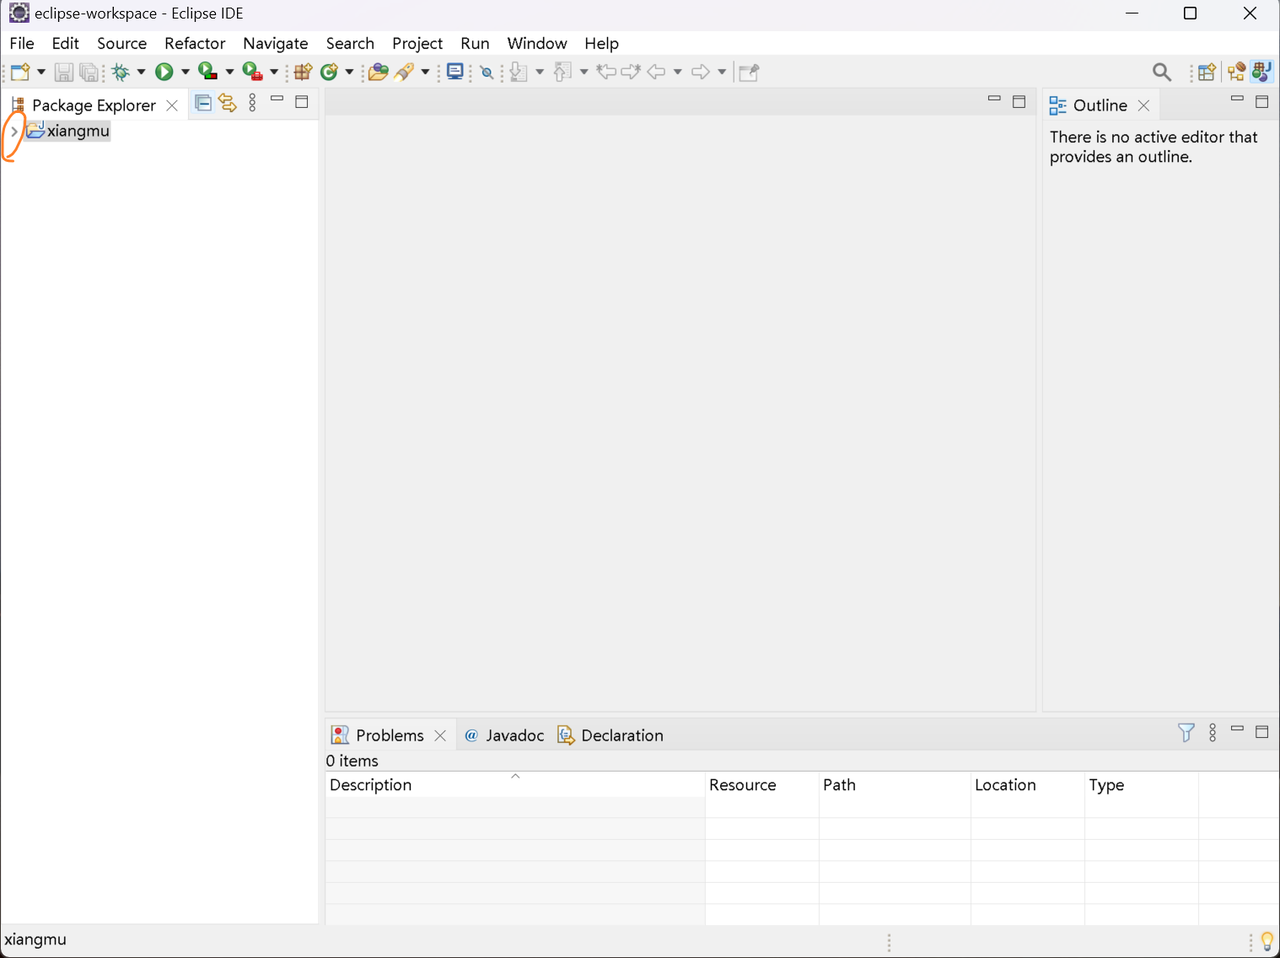
9、点击项目文件夹左侧的箭头。
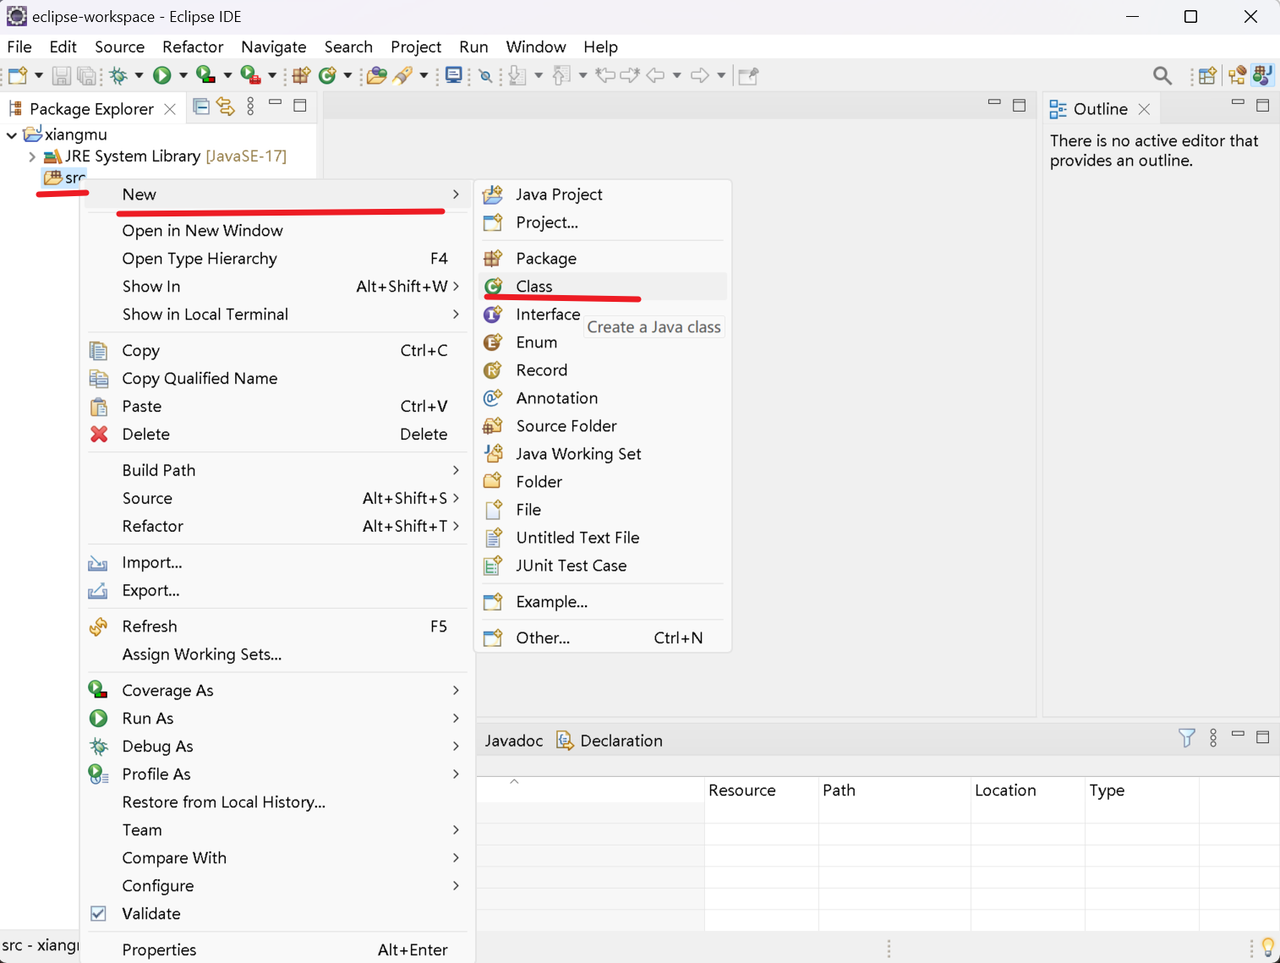
10、创建class(类)文件。
右击src文件夹,按标记顺序选择菜单,创建类文件。
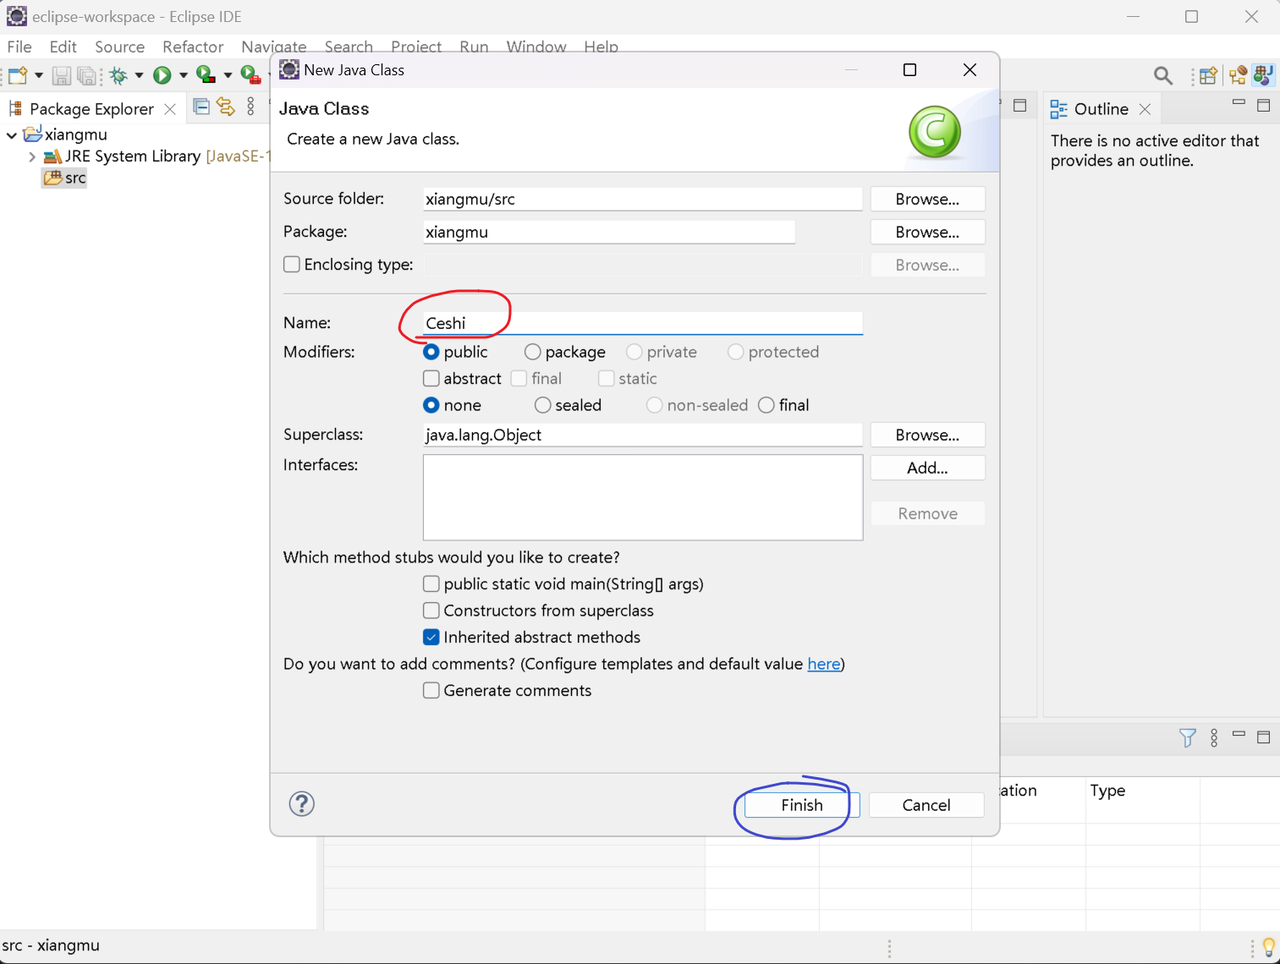
11、
红色圈部分输入类名,随意起名字,要求首字母大写。
点击Finish(完成)按钮。
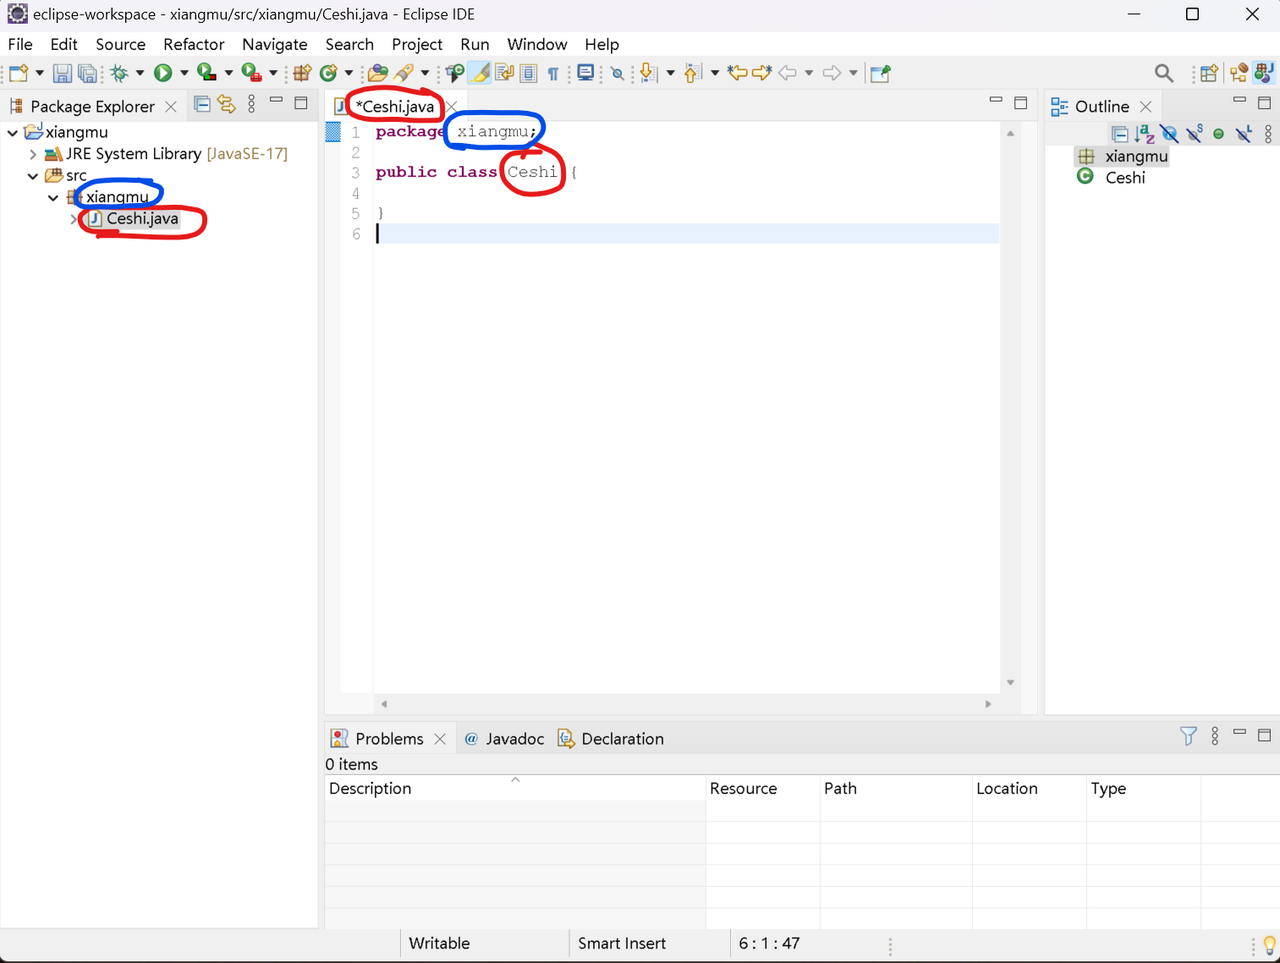
12、可以看到Eclipse为我们自动生成了部分代码,后续就可以在Ceshi.java里写我们自己的程序了。
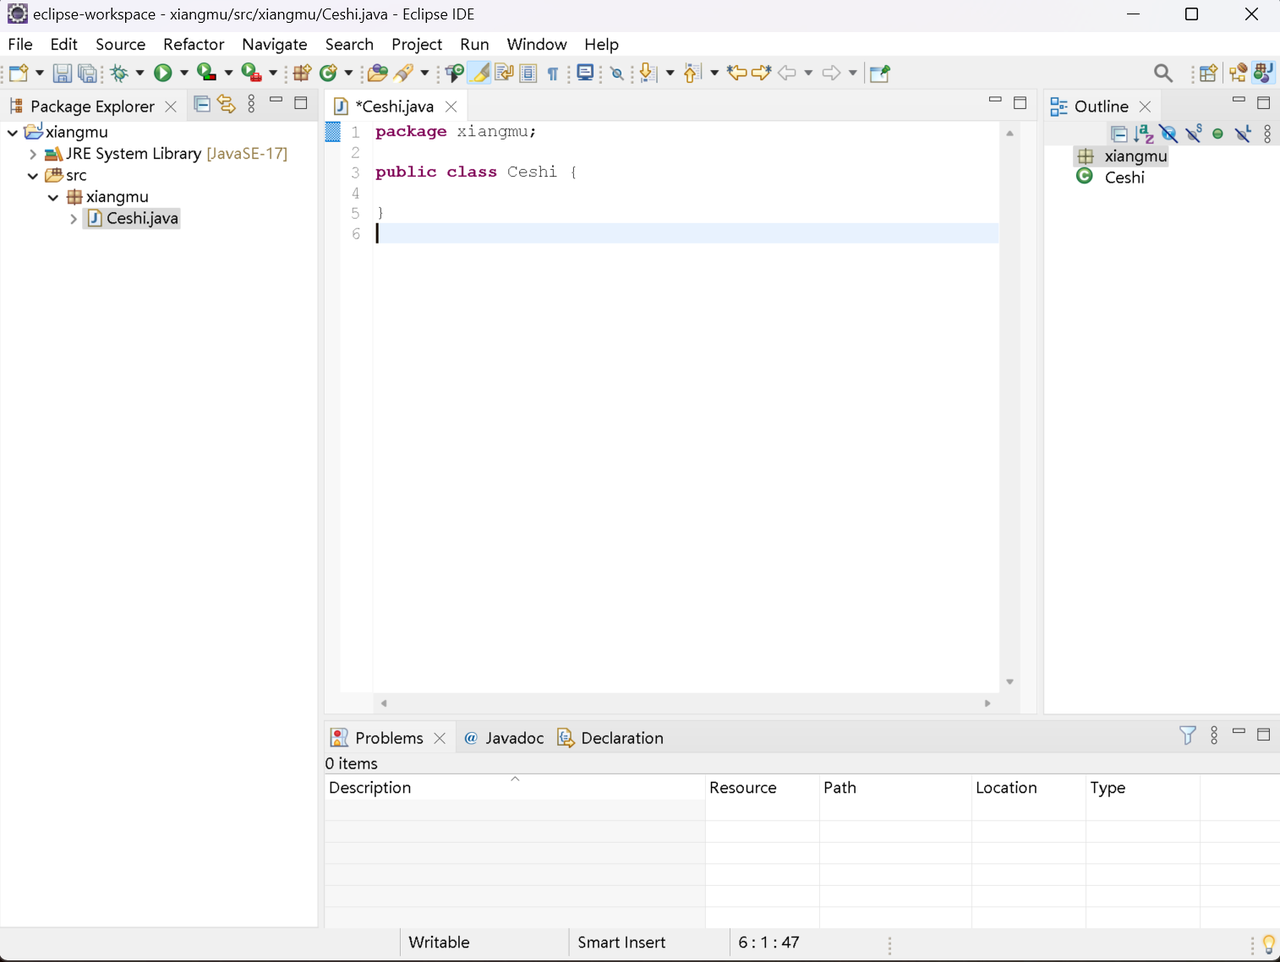
13、注意红色圈部分的单词是一致的,蓝色圈部分的单词也是一致的。注意:由于这部分单词是刚才创建项目时在对话框中给定的,每个人起的项目名和类名可能不同,所以这里生成的也会不同,按照上课内容或其他人的笔记整理代码的时候,不要把这部分自动生成的单词改掉。